AUDIO VISUAL SPECIALISTS | FULL DESIGN & INSTALLATION SERVICES AVAILABLE
Currency
|
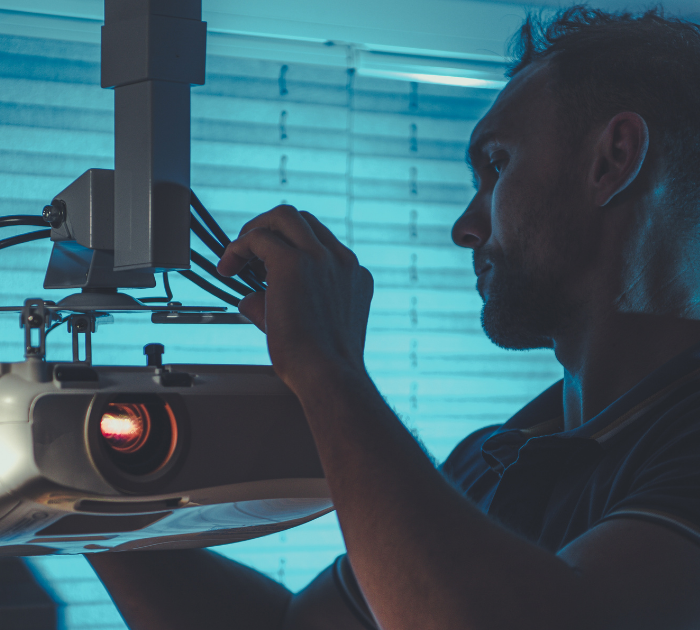
When your projector lamp breaks, and it needs replacing, here’s what you need to do:
Our team have the knowledge and experience to help customers design, select and integrate technology solution and equipment to best meet their needs.
When your projector lamp breaks, and it needs replacing, here’s what you need to do:
1. First, you need to allow your projector to cool for at least 1 hour before replacing the bulb. The bulb and projector will, otherwise, be too hot and could result in injury if not left to cool properly. Turn off the projector and unplug the power cord.
2. When your projector has cooled for at least 1 hour, start by using a screwdriver (there is usually one that comes with the replacement lamp) and loosen the screw securing the lamp cover. [WARNING: if the lamp is broken, then there may be loose glass shards]
3. Slide the cover out and lift it off.
4. Loosen the screws that secure the lamp to the projector. Please note: the screws do not come completely out.
5. To take the actual lamp out, you have a few options. Either: lift using the lamp handle and pull the lamp out of the projector or use the raised section of the lamp and pull the projector lamp out of the projector.
6. When the old lamp is out, gently put the new lamp into the projector. If you find that it is not going in, make sure it is facing the right way. Press the handle down, and it should then fit nicely into the projector. Please note: touching any glass whilst assembling your new projector lamp may lead to premature failure of your lamp
7. Push in the lamp firmly and make sure to tighten the screws to secure it in place.
8. Once the projector lamp is inside, place the lamp cover back onto the projector. Ensure it is placed securely or the lamp will not come on.
9. RESET the lamp timer/lamp hours to zero to keep track of the new lamp’s usage.